My First Disaster Buy
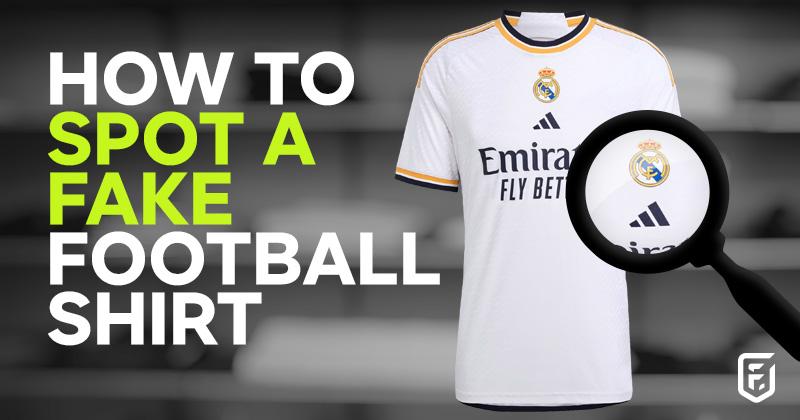
Okay, so listen up. I got totally burned last month trying to buy a classic 90s Chelsea jersey online. Like, full-on ripped off. The pictures looked kinda okay? But when it showed up? Disaster. The fabric felt like a cheap plastic bag, itchy and weird. The badge was crooked, like a kid glued it on, and the stitching? Utter rubbish. Fraying before I even wore it. Paid way too much for basically fancy trash. That pain? Yeah, it lit a fire under me. Time to figure this fake jersey game out for good. Didn’t wanna feel that stupid sting again.
Rolling Up My Sleeves
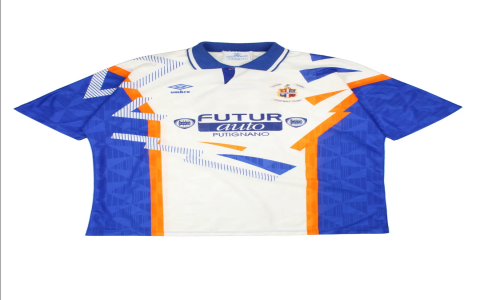
Right, mission started simple: learn what makes a real vintage Chelsea shirt real. I hit the charity shops first. Not for buying old kits (dream on!), but for handling old clothes. Needed to feel real vintage fabric – thick cotton, slightly rougher maybe than modern stuff, but breathable and solid. Held it. Squeezed it. Got a feel for how that older material behaved. Also noticed how heavy the printing felt on genuine 80s tee shirts compared to newer prints.

Then came the deep dive online. Found collectors forums, proper mad places where people post insane close-ups of single threads on badges. I bookmarked every decent close-up photo I could find of confirmed real shirts from different eras: early Coors sponsor, Autoglass, the Umbro diamonds on the shoulder. Obsessed over things like:
- Badges & Patches: How thick should the embroidery be? Are the colours spot-on? Older badges felt stiff, almost heavy. Fakes look flimsy, printed sometimes, not proper sewn.
- Sponsor Logos: The biggest giveaway! Learned the exact shape of the Autoglass ‘A’ or the Coors lettering. Fake prints are blurry, wrong fonts, colours bleeding, or peels off if you scratch lightly. Real ones sink into the fabric.
- Tagged For Trouble: Massive difference between eras! Umbro tags felt one way, Le Coq Sportif another. Modern Nike tags on a supposed 80s shirt? Pull the other one, mate. Studied tag fonts, placements, what care labels looked like when.
- Stitch Drama: Started looking at the seams inside out. Real vintage stuff usually had neat, tight stitching. Sloppy, loose threads or cheap-looking overlock stitching inside screamed fake.
Hitting the Market (Armed!)
Feeling cocky now with my new “fake-busting” knowledge. Time to hunt. Checked Ebay, Depop, local vintage sport shops. Now I knew what to grill sellers on. Asked directly: “Hey, clear photo of the inside tag and the badge stitching? How heavy does the sponsor print feel?” If they dodged? Next! If the pics looked dodgy? Ignored! I walked away from loads, even seemingly “good deals”.
Found one – an early 00s Le Coq Sportif home shirt, claimed worn once. Seller sent proper close-ups. Took my time:
- Badge felt thick, embroidered clean, colours perfect (blue not purple!).
- Autoglass sponsor? Crisp edges, the lettering looked embedded, not painted on.
- Tags matched exactly the photos online for that year/style.
- Inside stitching? Neat and tidy. Material felt thick and right.
- Even the smell was right – that old cupboard/dry storage vibe, not chemical.
Took a breath. Haggled a bit. Pulled the trigger. Nervous days waiting!
Victory Lap (Finally!)
Package arrives. Instantly better than the first disaster. Material felt substantial. Badge sits proud and perfect. Held the sponsor print – solid, won’t flake off. Tags legit. And that smell? Old clothes, not new fakes. Even my nan could tell this felt proper! Paid a fair price for the real deal. Pure relief.
My Big Takeaway? Slowing down is everything. Rushing means getting burned. Gotta feel the shirt (or see the clearest photos possible), know the era’s details cold, and question EVERYTHING. That first fake was horrible, but damn, it taught me well. Now I hunt with confidence. Good luck out there!

